How to hike your first 14er in Colorado
Sunrise (and moon setting) on Crestone Needle
The summer is in full swing here in Colorado and folks are seizing the weather window by hiking the Colorado 14ers. For those of you unfamiliar with the term “14ers,” like my girlfriend who’s lived in Colorado for 8 years, it simply refers to the handful of mountain peaks who’s summits top the 14,000 foot mark.
Folks in Colorado and avid hikers and peakbaggers alike have turned hiking the 14ers into a thing. It’s not infrequent to be confronted with the question “how many peaks do you have?” on top of one of the 14er summits or during a first date in the centennial state. To some, hiking the 14ers represent the pinnacle of hiking experiences in Colorado, and to others they are overrated and to be avoided because of crowds and inexperienced flatlanders getting in way over their heads.
Regardless of which camp you find yourself in, the 14ers are big, beautiful, and present for your exertion and enjoyment. That being said, the 14ers in colorado are not to be taken lightly which is why we at Titus Adventures are putting this information together to set you up for success.
How many 14ers in Colorado count as official 14ers? There are 53 official 14ers in Colorado with 5 additional peaks which don’t make the cut based on a technicality. The five unofficial peaks don’t have at least 300’ of prominence relative to the adjacent peaks, thus rendering them unofficial 14ers.
See our team in action on Mt Sherman with a first 14er summit for Stella and Christian
Preparing for the hike
When to Go
Although folks will hike the 14ers all year round, the summer is the most popular time of year. Mid June through September is the best window for summer conditions on the mountains.
If you have the ability to attempt these hikes during the weekdays, you’ll certainly have less crowded trailheads, campgrounds, and trails than on the weekends.
Which 14er
Consider the mountains listed below for your first 14er hike. They have high visitation, relative easy access, and have relatively low mileage and elevation change from trailhead to summit and back.
Mt Sherman
Quandry Peak
Mt Bierstadt
Grays Peak
Huron Peak
Handies Peak
Physical Condition and Altitude
The affect of high elevation on your body is not to be taken lightly! Before setting out blindly on a 14er hike, it’s best to be in good physical condition and acclimated to the Colorado altitude. If you live in Colorado, you’re likely already a step ahead of folks coming to town from sea level. Even if you’re from or live in Colorado or are visiting from a place of similar elevation, it’s not impossible to experience the symptoms of Altitude Sickness. It’s not uncommon to feel nausea, a headache, lethargy, loss of appetite, and shortness of breath while undertaking hikes in the Colorado mountains, let alone on the 14ers. These symptoms and more are super common while hiking the 14ers, especially if you’re visiting from sea level. In either case, to best prepare for a hike on one or many of the Colorado 14ers, come in good physical condition to hike, and don’t fly in from Florida expceting to hike too 14,000ft the next day. Head out on some warm-up trail hikes at 10,000-12,000ft to see you how are feeling.
Trip planning resources
Without a doubt, the most useful online resource for planning and preparing to hike one of the Colorado 14ers is the website 14ers.com. Don’t be fooled by its simple layout and seemingly outdated interface because it has all the information you need and more. Furthermore, if you’re like me and get satisfaction from completing items on a checklist, you’ll get gratification by checking off all the 14ers you hike successfully. 14ers.com is exceptionally good at compiling all of the information you need to prepare for your upcoming 14er hike, such as:
Weather Conditions: updated and pinpoint
Route information:
Each mountain usually has a few trail choices with winter and ski options
There are often a few trailheads to choose from depending on which trail you opt for. Be careful which you choose: some trailheads have long 4x4 roads and are difficult to access. Consider renting one of Titus Adventure Company’s overland 4x4 vehicles to get you to the TH with ease and in comfort.
Be careful which route and trailhead you choose.
Trail reports sourced by other hikers
Super helpful when seasons turn from spring to summer and you’re looking to hike and avoid winter conditions
Downloadable images and narrative descriptions of the hike.
I like downloading these pages or taking screenshots on my phone for mid-hike route-finding decisions.
Once I’ve decided which mountain I intend to hike, I download that mountain’s page for offline accessibility, take screenshots as a fail-safe, and download the relevant GPX files and import them to my favorite mapping app: Gaia GPS. Gaia is simply a mapping and tracking app which allows me to see the route I intend to take, as well as my location relative to that route with overlayable map layers for satellite, topographic, or even winter satellite to name a few.
How Long Will The Hike Take
Timing rule of thumb for hiking a Colorado 14er: Summit and start descent by noon. During the summer, thunder storms and quick but heavy rain can move into the mountains quickly. Lightening during these storms is a huge risk for hikers at and above tree line, so avoiding potentially dangerous environmental hazards is generally a good idea.
With this rule of thumb at the front of mind, I usually work backwards from an ETA summit time of 11am-noon. Good questions to ask yourself are: How many miles to reach the summit? How many feet of ascent to the summit? How long will it take me to hike those miles and ascent these vertical feet? If you’re preparing to hike one of the 14ers, it’s crucial to know these numbers.
To form an ascent time estimate, the Naismith’s rule is helpful to calculate an estimate for timing: Allow one hour for every 3 miles (5 km) forward, plus an additional hour for every 2,000 feet (600 m) of ascent.
After you’ve hiked a few of these 14ers you’ll start to develop your own method for reaching the summit at a reasonable turnaround time and determining when is best for hitting the trail in the morning. Personally, I aim to hit the trail about an hour before sunrise regardless of the discance of the hike. This typically gives me enough time to reach the summit and start my descent before noon.
Hitting the Road
How to get there and where to camp
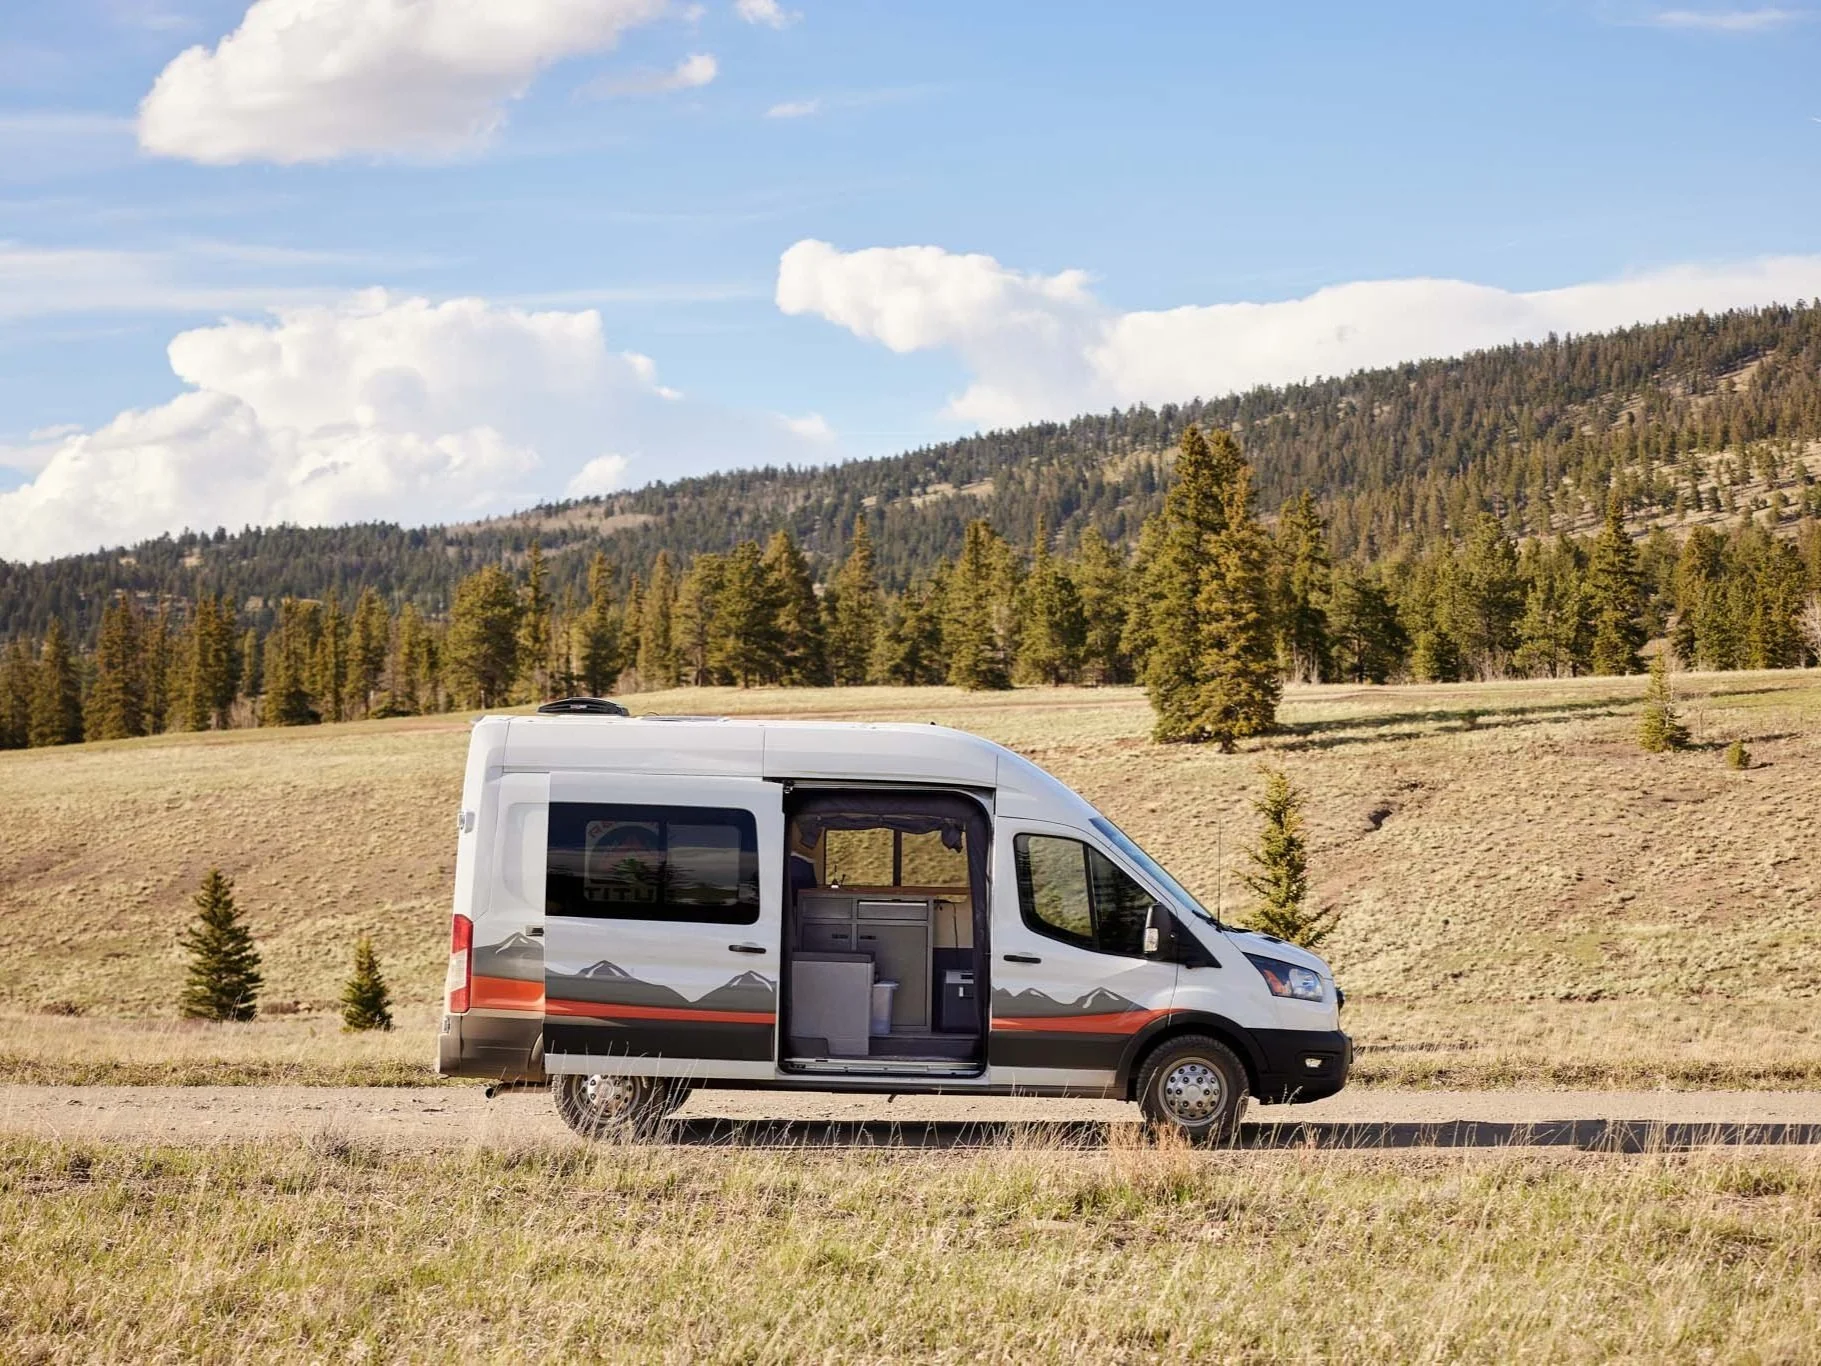
After you’ve answered the above questions regarding distance and timing, you’re likely at the point when you need to decide about arriving at the trailhead and starting the hike. Trailhead access can often prove difficult for some of these hikes. If you have a 4x4 SUV with high clearance, you’ll save yourself a lot of time and energy by driving down the road further than most other vehicles have the ability to. If you don’t have a vehicle capable of reaching these more remote trailheads, consider a Titus Adventure rig for shortening your hike.
Some options for arriving at the trail include:
(No Camp) - Drive to the Trailhead early in the AM - start hike immediately after arriving and before sunrise
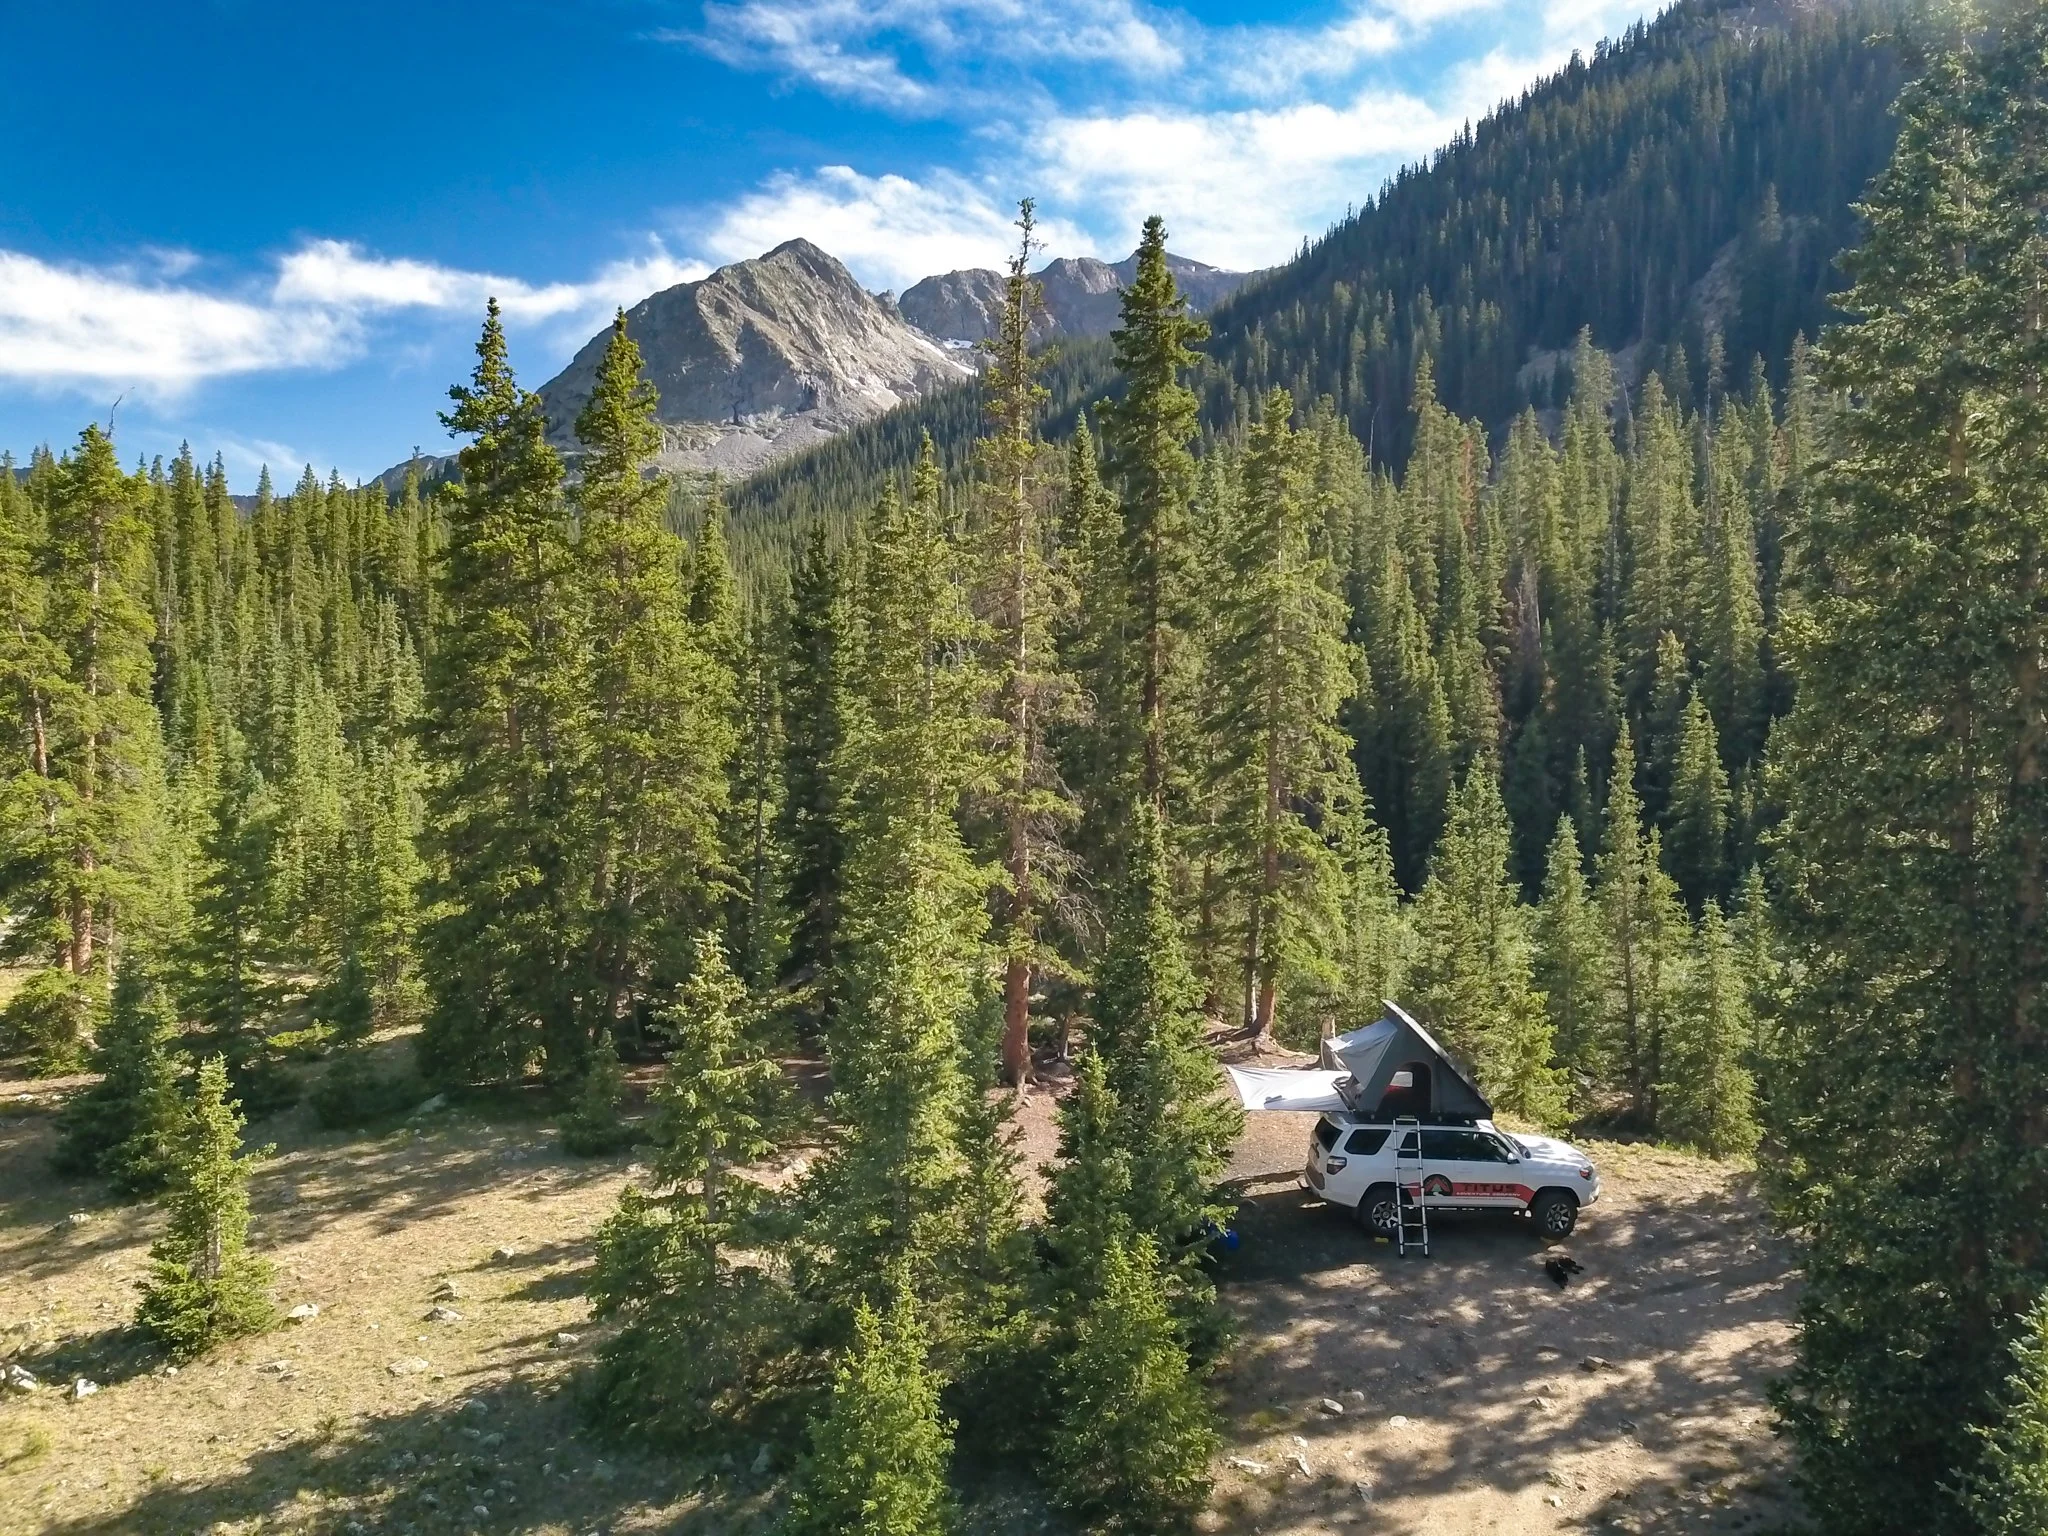
(Camp) - Drive near the trailhead day or evening before. Camp out and start hiking early the next morning. One of Titus Adventure Company’s overland 4x4 vehicles will allow you to get to the TH and pop up one of the rooftop tents for ease of setup and takedown the next morning.
Car camping is pretty popular for these hikes. Some folks “stealth” camp in their cars or vans in such a way that you’d never know anyone was inside until you see their headlamp flick on pre-hike.
Dispersed camping just before the trailhead is usually a good option for some of those forest service roads leading to the trails. Don’t show up too late though, or else all of the desirable spots will already be taken! Consider showing up late morning or mid day before your hike.
Campgrounds near the trailheads usually offer the amenities of toilets, running water, and an established site; though campgrounds often book up far in advance and have an associated cost.
(Backpack) - Park at trailhead the day before hike. Backpack in a few miles and camp along the trail at designated sites.
When you’re doing the calculations for some of the longer hikes to 14er summits, you may determine that the amount of time it takes to hike in is longer than you can afford, and that backpacking in the night before is the safest way to ensure a summit turnaround time of noon.
What to Pack
If you intend to backpack in and start the hike the following day, you’ll surely need a supplemental set of backpacking gear which we won’t cover here. For now, we’ll focus on what you should be carrying with you for the hike up and back, sans backpacking gear.
Backpack - Your backpack should sufficiently fit all of the gear and food listed below, with some room to spare for helping your hiking partner lighten their load if need-be. I find that a 40 Liter is the perfect size for me, but others can get away with 30 Liters.
Water - Expect to carry all the water you’ll need for the entire hike, even though you may find the time and water sources to filter or treat additional water. I personally carry a 3L water bladder, filled up, with an extra liter of water in a nalgene and an additional extra liter in a collapsible hydrapak. For filtering purposes, I carry a small sawyer squeeze water filter in my pack for emergencies.
Clothes - Everyone has their personal preferences for what they wear on any given hike, so stick to what you are comfortable with. Personally, with alpine starts, I like starting warm and shedding layers as I go. I’m often layering or de-layering 3-4 times per 14er hike.
I typically start with:
Socks and underwear
Pants - synthetic
Baselayer - sun hoodie or capeline wool base hoodie
Hoodie - synthetic hoodie with wind-resistant qualities
Gloves - mid-light duty
Beanie - warm hat.
Rain jacket - for rain, extreme wind, extra warmth
I’ll often carry
Vest - core warmth
Gear: some additional gear that’s in my pack includes:
Headlamp: often starts on my head then goes into a hip pocket
Multi tool - often just for cutting apples on the summit, occasionally for adjusting trekking pole clips or backpack straps.
Trekking poles - super helpful on steep ascents or long descents
Sun glasses - pretty much always on my face once the sun is up.
Chapstick and sunscreen
GPS communication device (Garmin inReach or at Titus we provide the similar Bivy Stick)
Small first aid kit
Food - do yourself a favor and pack all your food the day/night before. This will save time the morning of and allow you to spend all of your groggy and lethargic pre-sunrise time drinking coffee and hiking. All of Titus Adventure Company’s 4x4 vehicles come with dometic fridges to help keep your food ready for camp at night, or organized and safe for the next morning’s alpine start.
Snacks - copious amounts! Whatever you like! A mix of salty and sweet will help keep you hydrated and energized.
Granola bars
Gummy bears
Clementines
Apples
Trail mix
Summit chocolate bar
A proper lunch for the summit - Once you reach the top, you might think that all the hard work is done. Often, the early start catches up to you, and halfway through the descent your body starts to crave sugars and your footwork gets sloppy. Treat yourself to a good sandwich or burrito at the top of the mountain so you don’t lack the energy necessary to finish strong.
About me
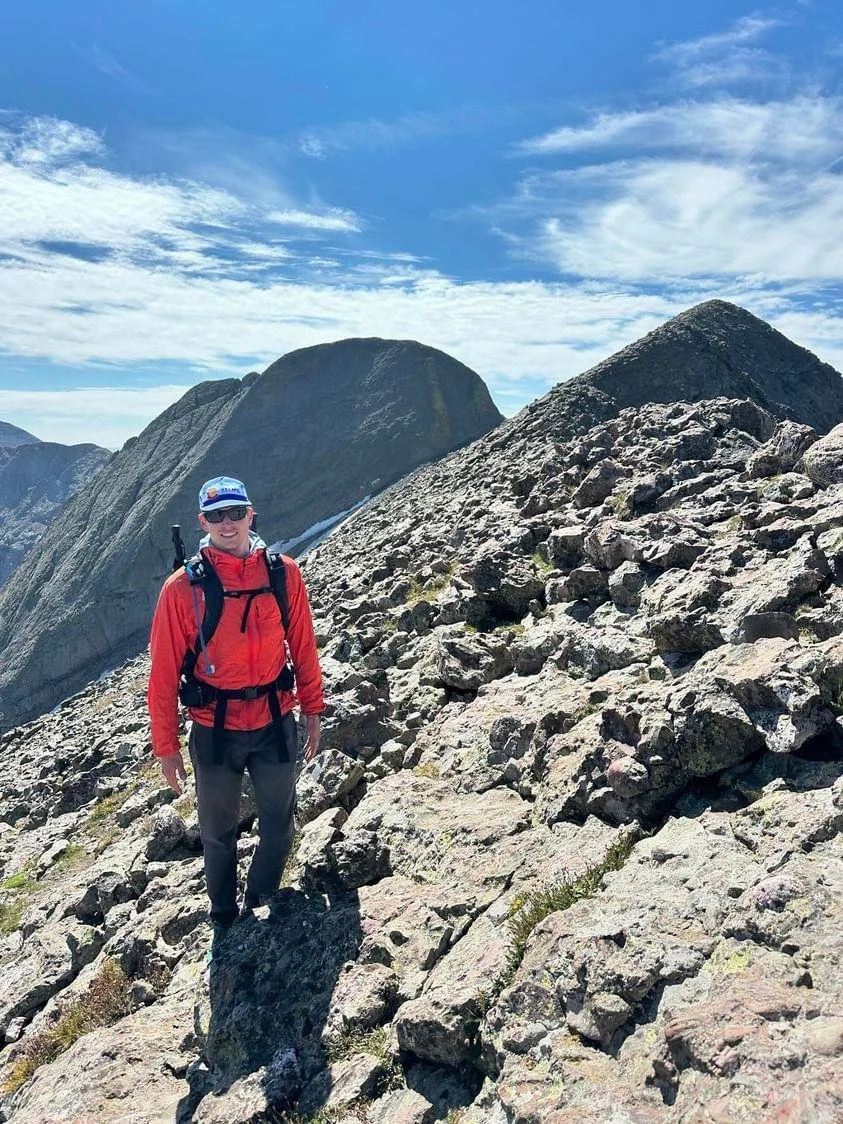
Terrence Walsh is the Titus Adventures Operations Manager and one of the guides on staff. Since 2016 Terrence has been guiding multi-day hiking, cycling, and backpacking trips across the country. When he’s not helping folks prep and plan for their upcoming adventures he’s out on adventures of his own!
The author on a recent 14er


